Page 6 of 17
Posted: Thu Nov 21, 2013 12:07 pm
by Ian Anderson
This is starting to look something like the Grumoy Old White Guys thread over at GT40s
It's found here
http://www.gt40s.com/forum/paddock/4179 ... -gowg.html
Please note it's all humourous banter! (Amoungst old farts!)
In the readers digest they used to have a column called Humour's the Best Medicine - it sure helps
Get well
Ian
Posted: Thu Nov 21, 2013 12:41 pm
by kiwicar
Hi Paul
I found that through my last few weeks at work this sort of thing http://www.youtube.com/watch?v=y2t10pW28Us kept me occupied for hours, the chap in the stripey T shirt trying to be hit by the car is just priceless . . . also after seeing a few I get quite impressed how many people are so drunk behind the wheel that they just fall out the of their car/van/truck whilst driving. . .
Best regards
Mike
Posted: Thu Nov 21, 2013 3:16 pm
by gelmonkey
Ian, Mike
Firstly I would like to be considered a WOGG and secondly watching the looney russkies make me realise that maybe we dont have it so bad on our roads over here after all.
Although saying that I spent some time in Moscow a couple of years ago working on a boat out there and the drive from the airport to the hotel was one of the most traumatic journeys I have ever had to undertake.
Completely reckless would sum it up pretty good.
Thanks for keeping me amused guys and I do feel a little easier today but still not right.
cheers
P
Posted: Wed Jan 01, 2014 10:19 pm
by martyn123
Hi,
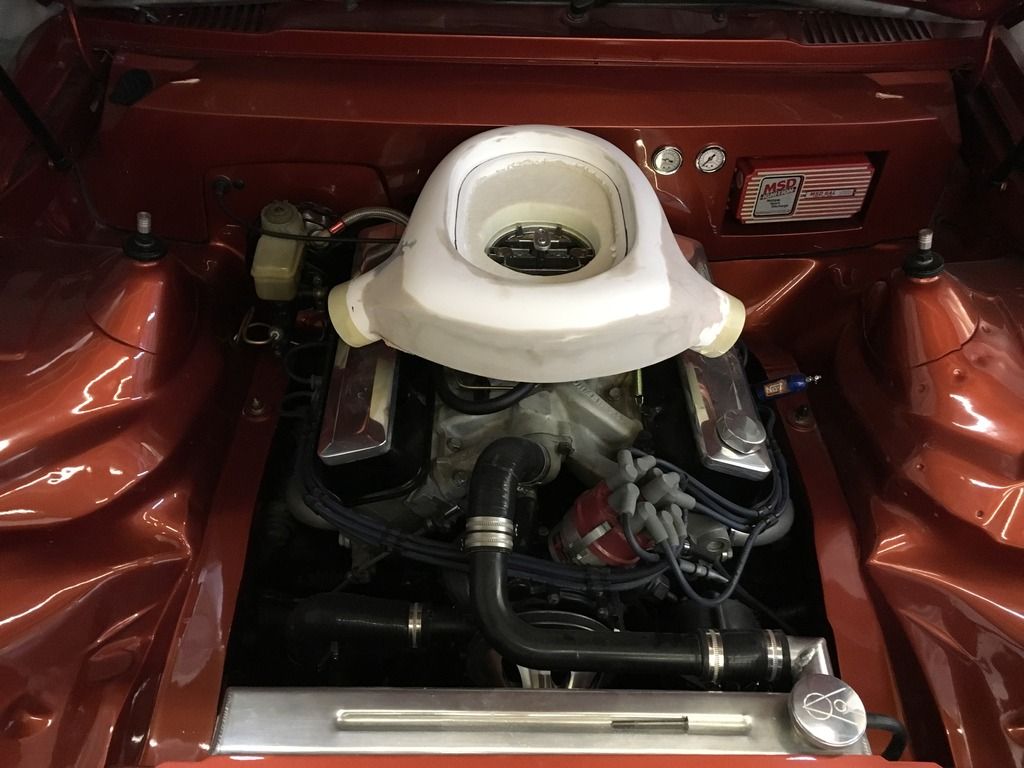
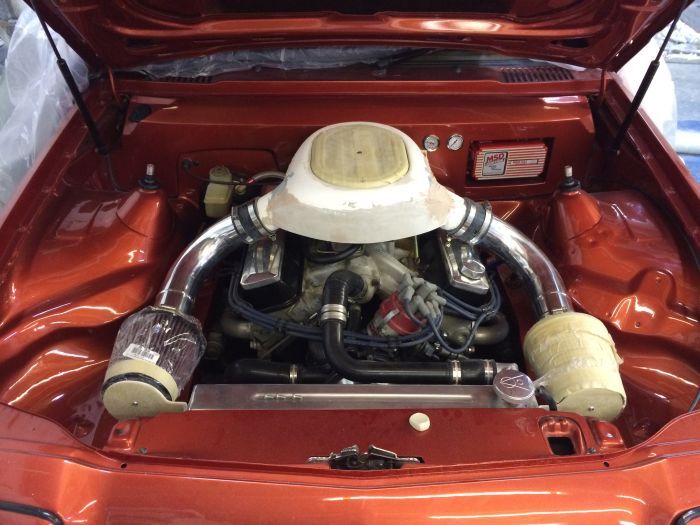
Finally fitted the new air system and have also removed the choke assembly, just waiting for some dry weather to take the car out for a drive,

Martyn....[/img]
Posted: Fri Jan 03, 2014 12:53 pm
by gelmonkey
Hi Martyn
That looks like a nice fitment you have there but its a bugger to look at upside down!
Can you sort this out at your end?
Progress for me is non existent as I am still not back on my feet properly and am getting really fed up with it all now.
I don't do unwell and this is beyond a joke but I will be back on the case as soon as possible because I want to get it finished and on the engine.
cheers
P
Posted: Sun Jan 05, 2014 8:32 am
by unstable load
Mr Monkey, hang in there mate. See what I did there......?

Don't fall for the temptation of starting to work earlier than you should, it will cause a lot more strife than it's worth in the long run.
Posted: Sat Jan 25, 2014 12:36 pm
by Blown v8
I found this,and thought of this thread,

Posted: Sat Jan 25, 2014 9:02 pm
by gelmonkey
Hi
I have that mag from some years ago and have seen similar on some of the US cars and always liked the look.
Am still not back in the garage as things are not quite right still health wise (into week 15 with this all now!!!!) plus I am down in Antibes doing some work on a boat so even if I had my full quota of get up and go it would do no good as a long way from home at the moment.
Can just about manage a full day and then am shattered

Be on it again soon though I hope.
cheers
P
Posted: Mon Oct 27, 2014 5:12 pm
by Blown v8
My mate got his car out this weekend,and I remembered this thread !

How's your aid filter coming along ?
Posted: Tue Oct 28, 2014 6:52 am
by unstable load
Blown v8 wrote:How's your aid filter coming along ?
It needs help........

No need to shove, I'll get my coat......
Posted: Wed Jan 06, 2016 9:41 pm
by gelmonkey
Happy New Year all for starters.
It's been over a year since I last posted on this thread but I have been working on the housing when I have had a bit of spare time which has not been that often in all honesty.
I have spent hours and hours gelling sanding back re gelling and more sanding back and then skimming with filler and sanding that back!!
Finally I have got to a shape that is pretty good and symmetrical and so I dummied it all up on the car and had a look.

Not looking too shabby in my opinion.
So the next step was to actually start making the mould WOO HOO and about time too.
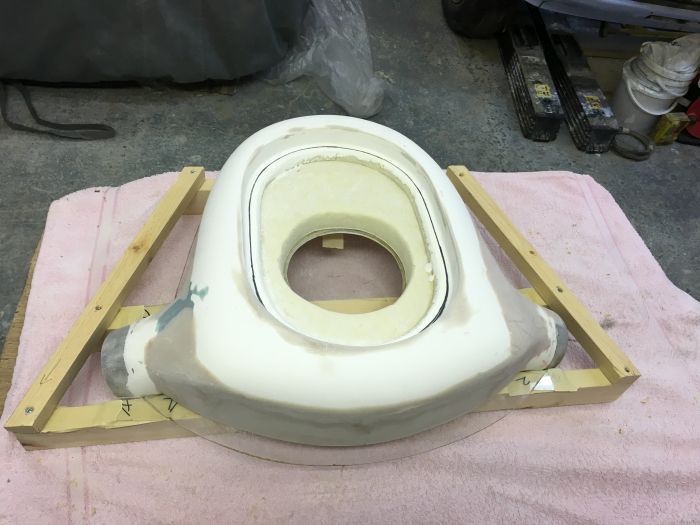
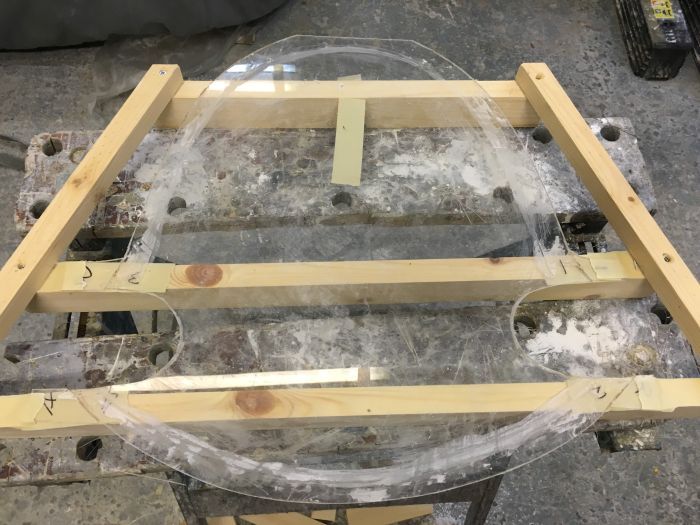
Cutting an acrylic base plate and scribing it around the intake tubes to give me a flange to glass to on the bottom section (yes it has to be a two part mould ) I then realised that the acrylic was far too flexible for my needs so I made a simple jig out of some timber I had laying around in the garage and it looks like this.
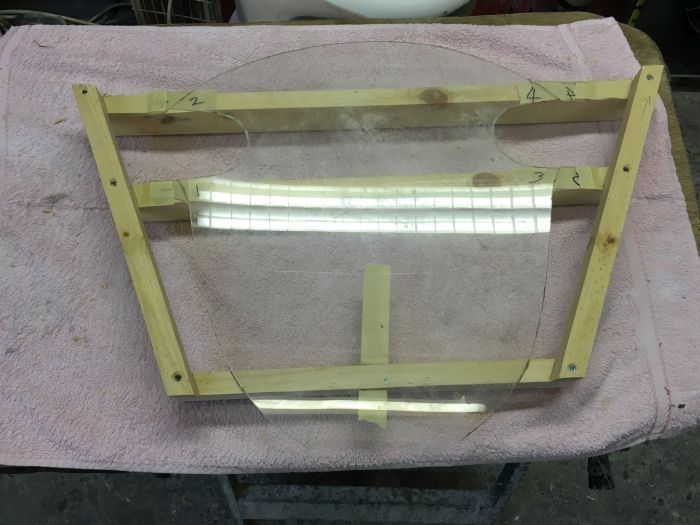
With the housing sat on the acrylic /jig you can see that it is a nice snug fit which is perfect for the next stage which will be the application of 8 coats of release wax and a buff up between each coat.
Some of you have followed a couple of other little things that I have done in the past for my wagon and for that bloke Kiwi car so as always any questions or comments will be welcomed,
More pics and drivel when I can get back out there for an evening.
Cheers
P
Posted: Thu Jan 07, 2016 9:33 pm
by gelmonkey
Evening all
Yet another bit of spare time to work on this little project.
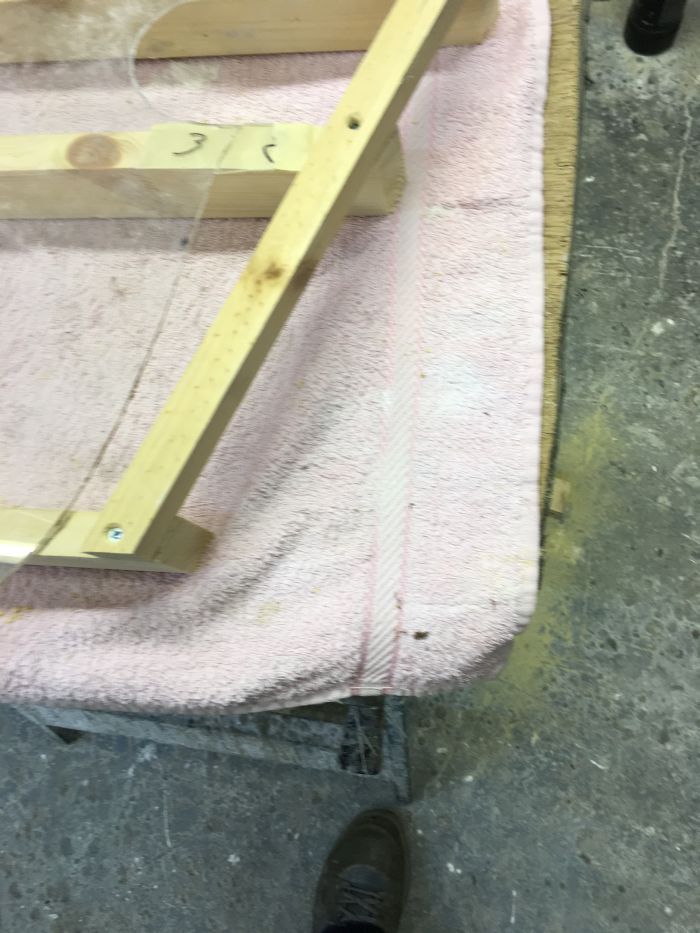
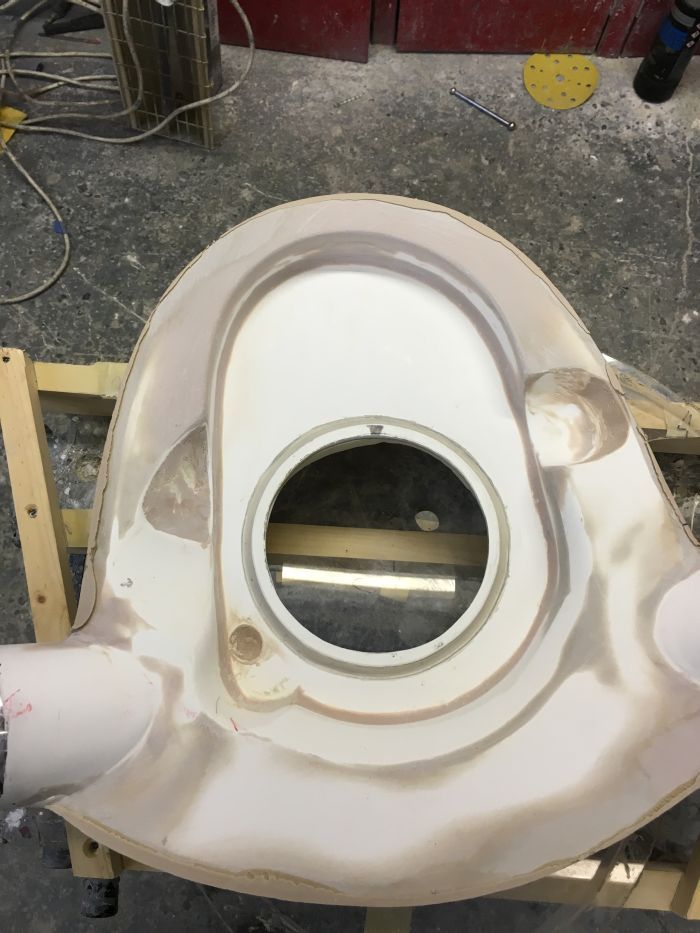
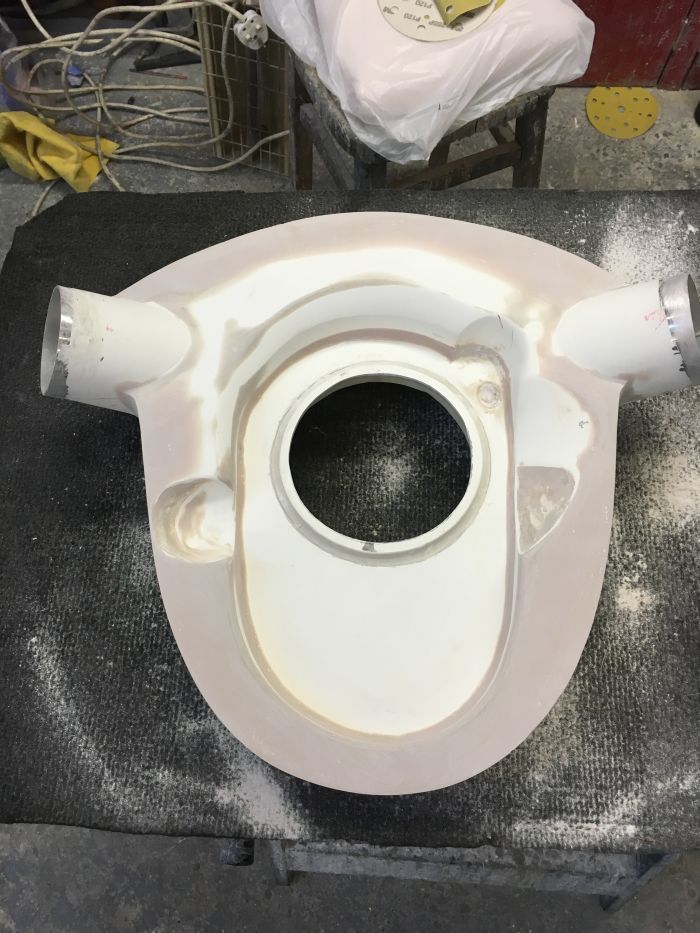
After sitting the 'plug' on the base last night I saw that even though I had tried to be as accurate as possible there were discrepancies from side to side and front to back at the very bottom of the plug so I decided that that would not do and mixed up a very small amount of plop and skimmed all the way around the base so that after a quick sand back it would all be square.
Bear in mind that I had just previously sanded back by eye so it was'nt too far out at all.
With the filler drying I then scraped off the excess on the base plate.
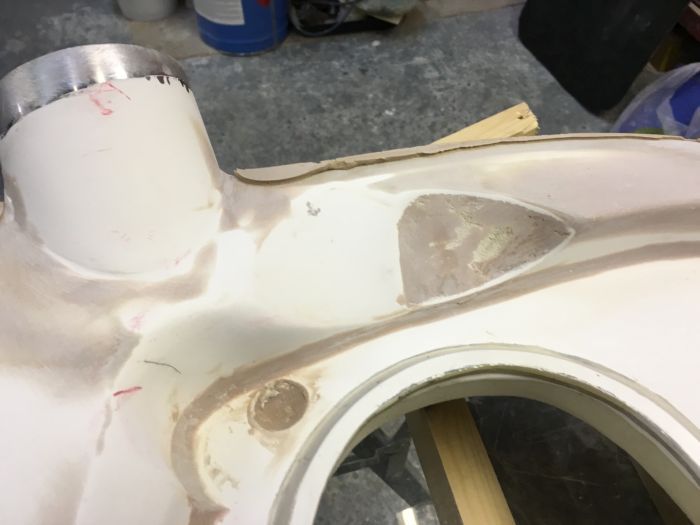
As the base plate is just that and something for the gel and glass to lay on it does not matter that it is now not completely smooth.
It along with the plug will be heavily waxed before any gel is applied.
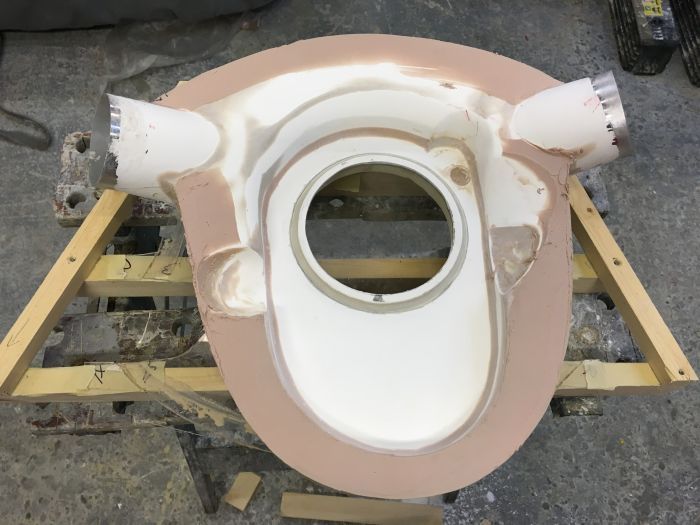
Once the base and sides where completely sanded back I then offered it back to the base plate and it looked pretty good so tomorrow evening I can get the wax on and maybe some gel too.
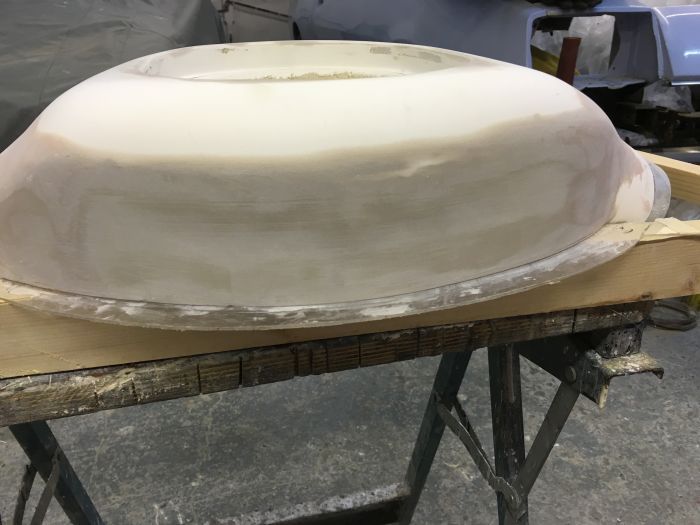
Once the shape was determined it has been just a simple case of final shaping and getting the prep right before I start mixing stuff up but anyone could make something like this to suit their own needs and clearances under the bonnet.
As always preparation is 80% of any moulding success and that is why I have taken the time to get this right now because once you mould any irregularities will always transfer to the mould itself.
That in turn leads to more work once the unit is released to get it looking right which you don't want to be doing really.
There are a couple of really tight radii on the top so I will show how we can get around that problem once the proper work starts.
Thats it for now
cheers
P
Posted: Thu Jan 07, 2016 10:14 pm
by kiwicar
Hi Paul
a thing of great beauty first class work as usual mate.
best regards
Mike
Posted: Thu Jan 07, 2016 10:31 pm
by gelmonkey
Thanks Mike
It's good to be back on the case.
P
Posted: Fri Jan 08, 2016 5:44 am
by unstable load
gelmonkey wrote:
I am not familiar with the underbonnet of that car, but would there be any advantage to running the inlets from the filters a tad longer and with a bend to allow the filters to sit further forward and outboard in the spaces behind the headlights?
Or is that the optimum location for best air access?
As always, I am hugely impressed with your skill. Next to being able to weld properly, composites would be my "want to do" thing.


